Adding Locations
Locations are at the heart of how FastQuery organizes your business. Each location represents a retail store where your team serves customers and tracks inventory.
Why Locations Matter
Section titled “Why Locations Matter”Locations determine what inventory and data your team sees in FastQuery. When a user is assigned to a location, they’ll see the products, stock levels, and information relevant to that specific store.
Adding Your First Location
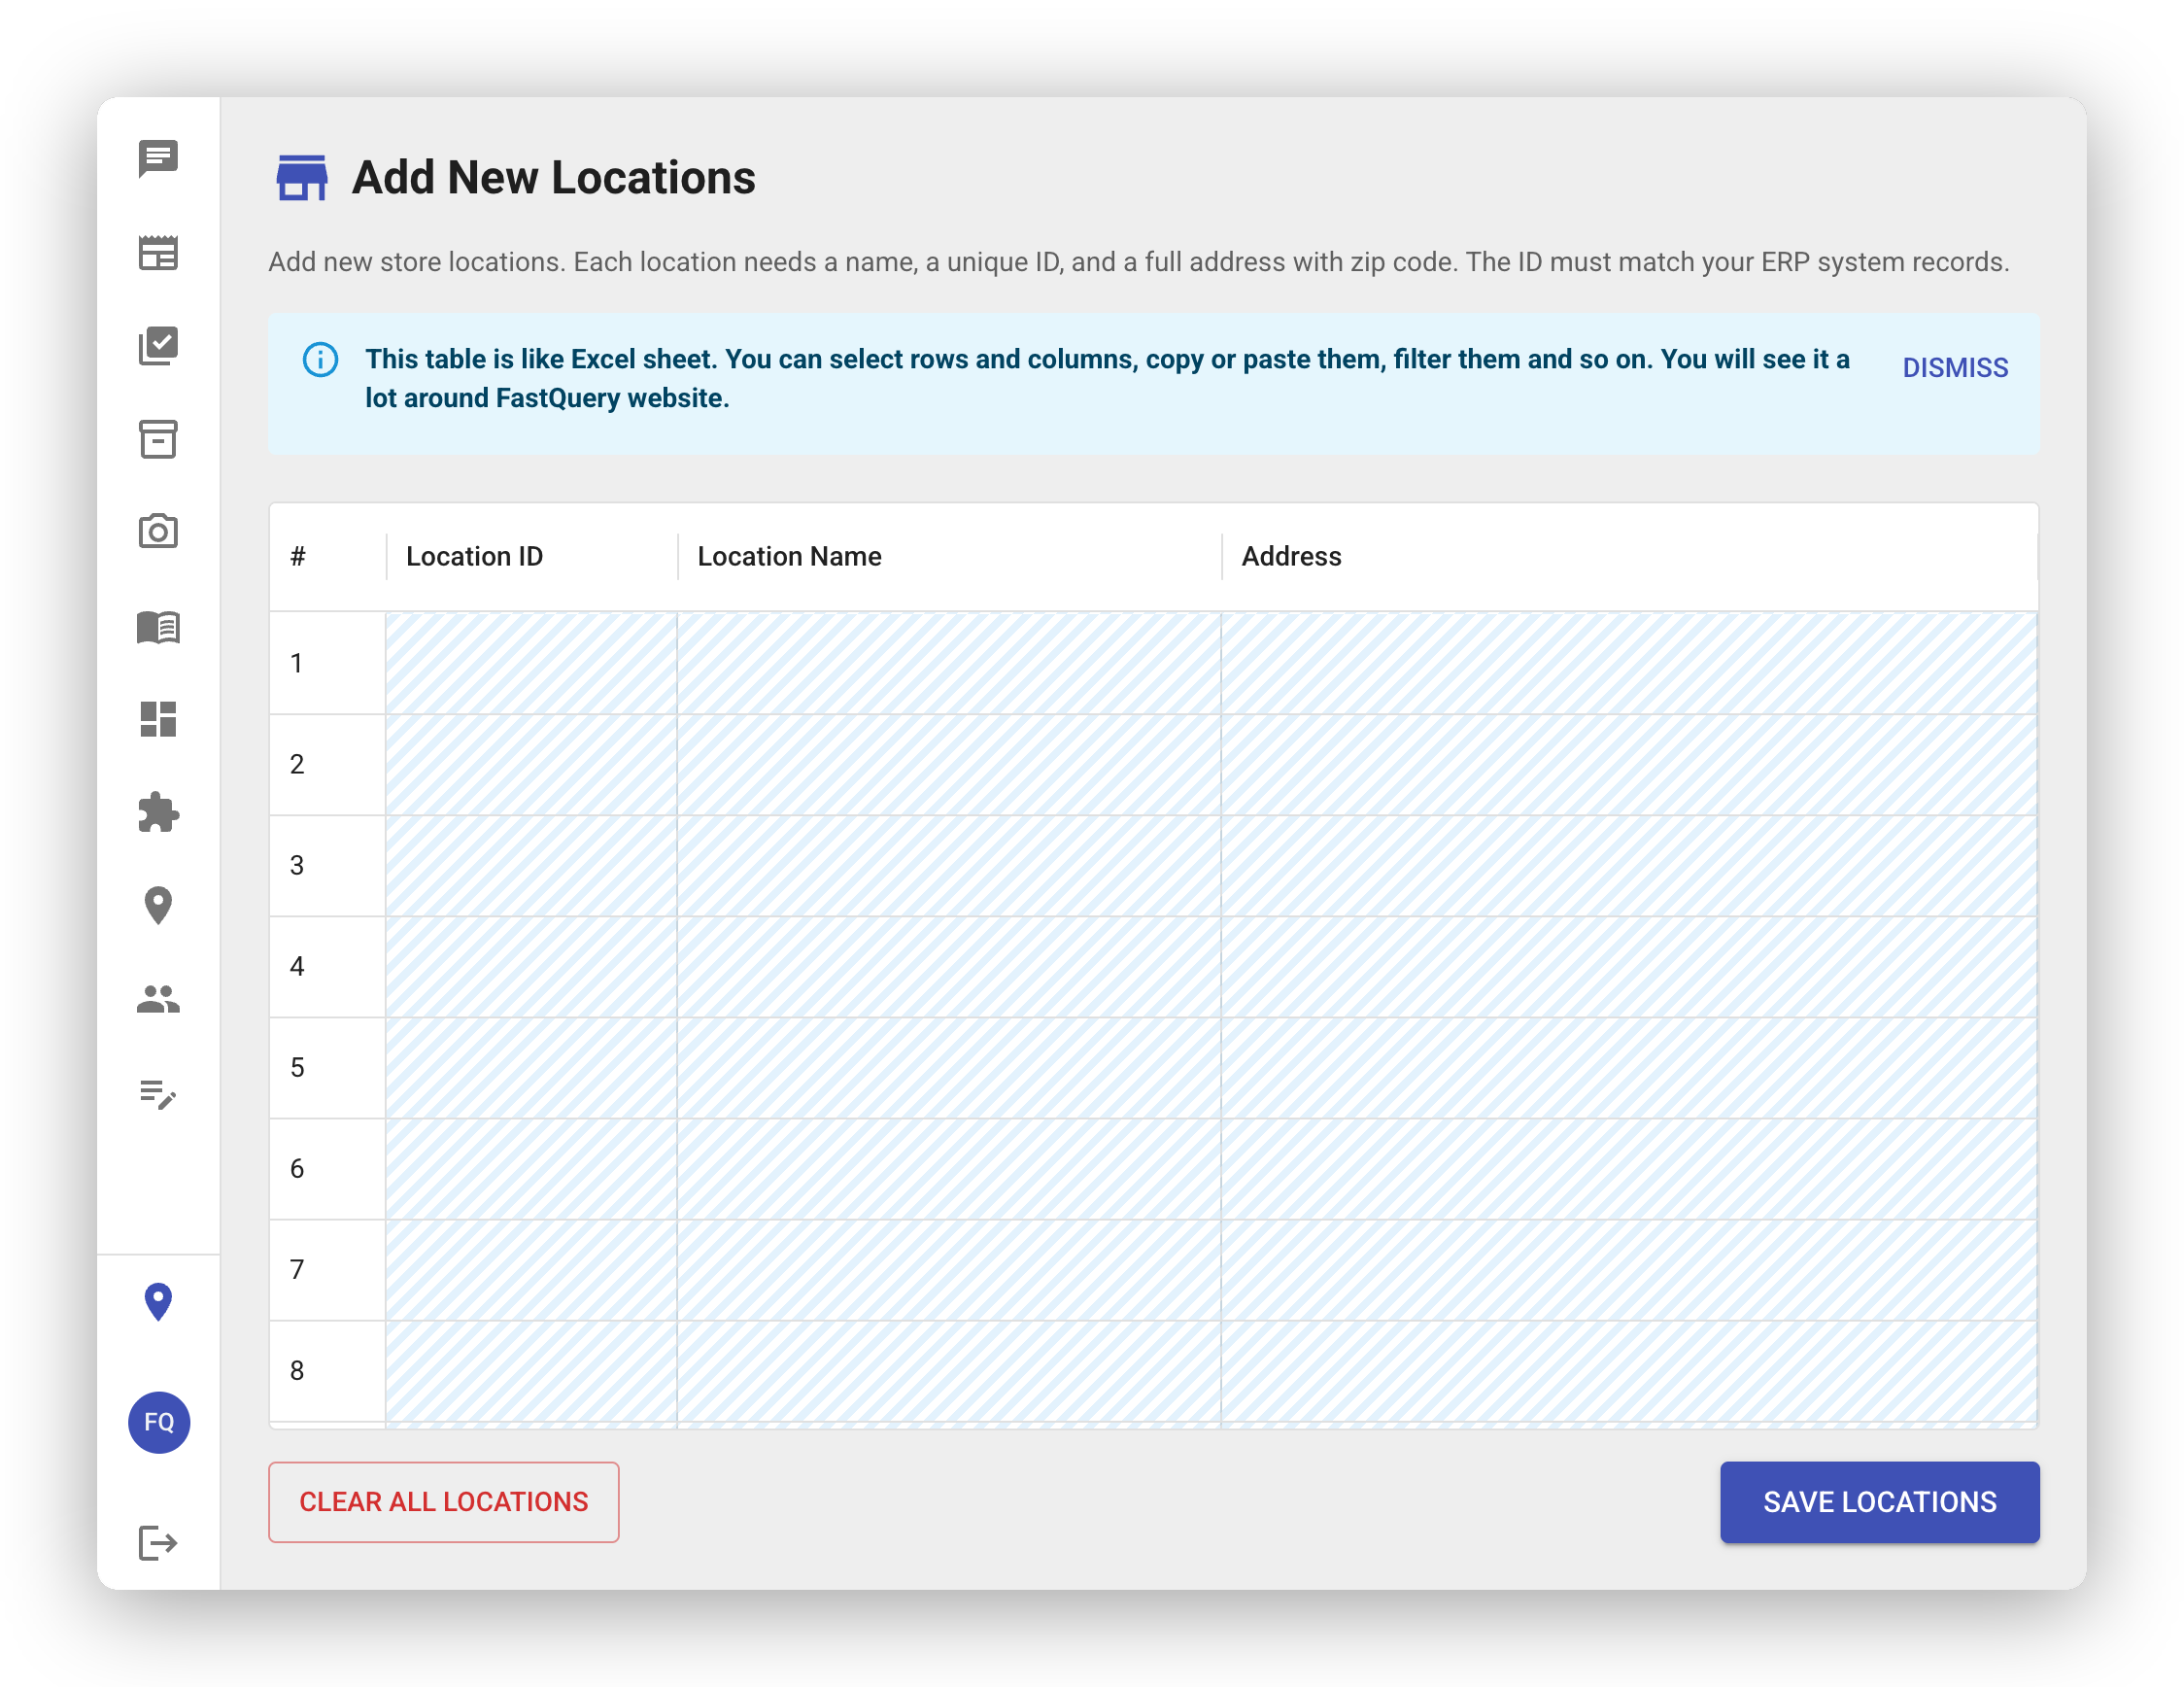
Section titled “Adding Your First Location”After setting up your organization, you’ll be prompted to add your store locations. For each one, you’ll enter:
- Location ID — A short, unique identifier for the location (lowercase letters, numbers, hyphens, and underscores). For example,
downtownoreast-side. - Location name — A friendly display name like “Downtown Store” or “East Side.”
- Address — The full street address of the location, including city, state, and zip code.
Adding Multiple Locations at Once
Section titled “Adding Multiple Locations at Once”If you have several locations to add, you don’t have to enter them one by one. FastQuery includes a bulk data grid that lets you add multiple locations all at once — just fill in the rows like a spreadsheet.
This is especially handy if you’re managing a chain of stores.
Managing Locations Later
Section titled “Managing Locations Later”You can always come back and add, edit, or remove locations after the initial setup. Head to your organization settings to make changes.
- Be descriptive with names — If you have multiple stores, use names that are easy to tell apart (like city names or street names).
- Keep Location IDs simple — Short, lowercase IDs like
downtownornorth-storework best. - Double-check addresses — Accurate addresses help keep your data organized.
- Start with your main locations and add others as needed. You’re not locked in.