Inviting Users
Once your organization and facilities are set up, it’s time to bring your team on board. As an admin, you can invite managers, associates, and other team members to FastQuery.
How to Invite Someone
Section titled “How to Invite Someone”To invite a new user:
- Go to the Users section in your settings.
- Enter the person’s name and email address.
- Choose a role for them (see below).
- Assign them to one or more facilities.
- Send the invitation.
The invited person will receive an email with instructions on how to sign in and get started.
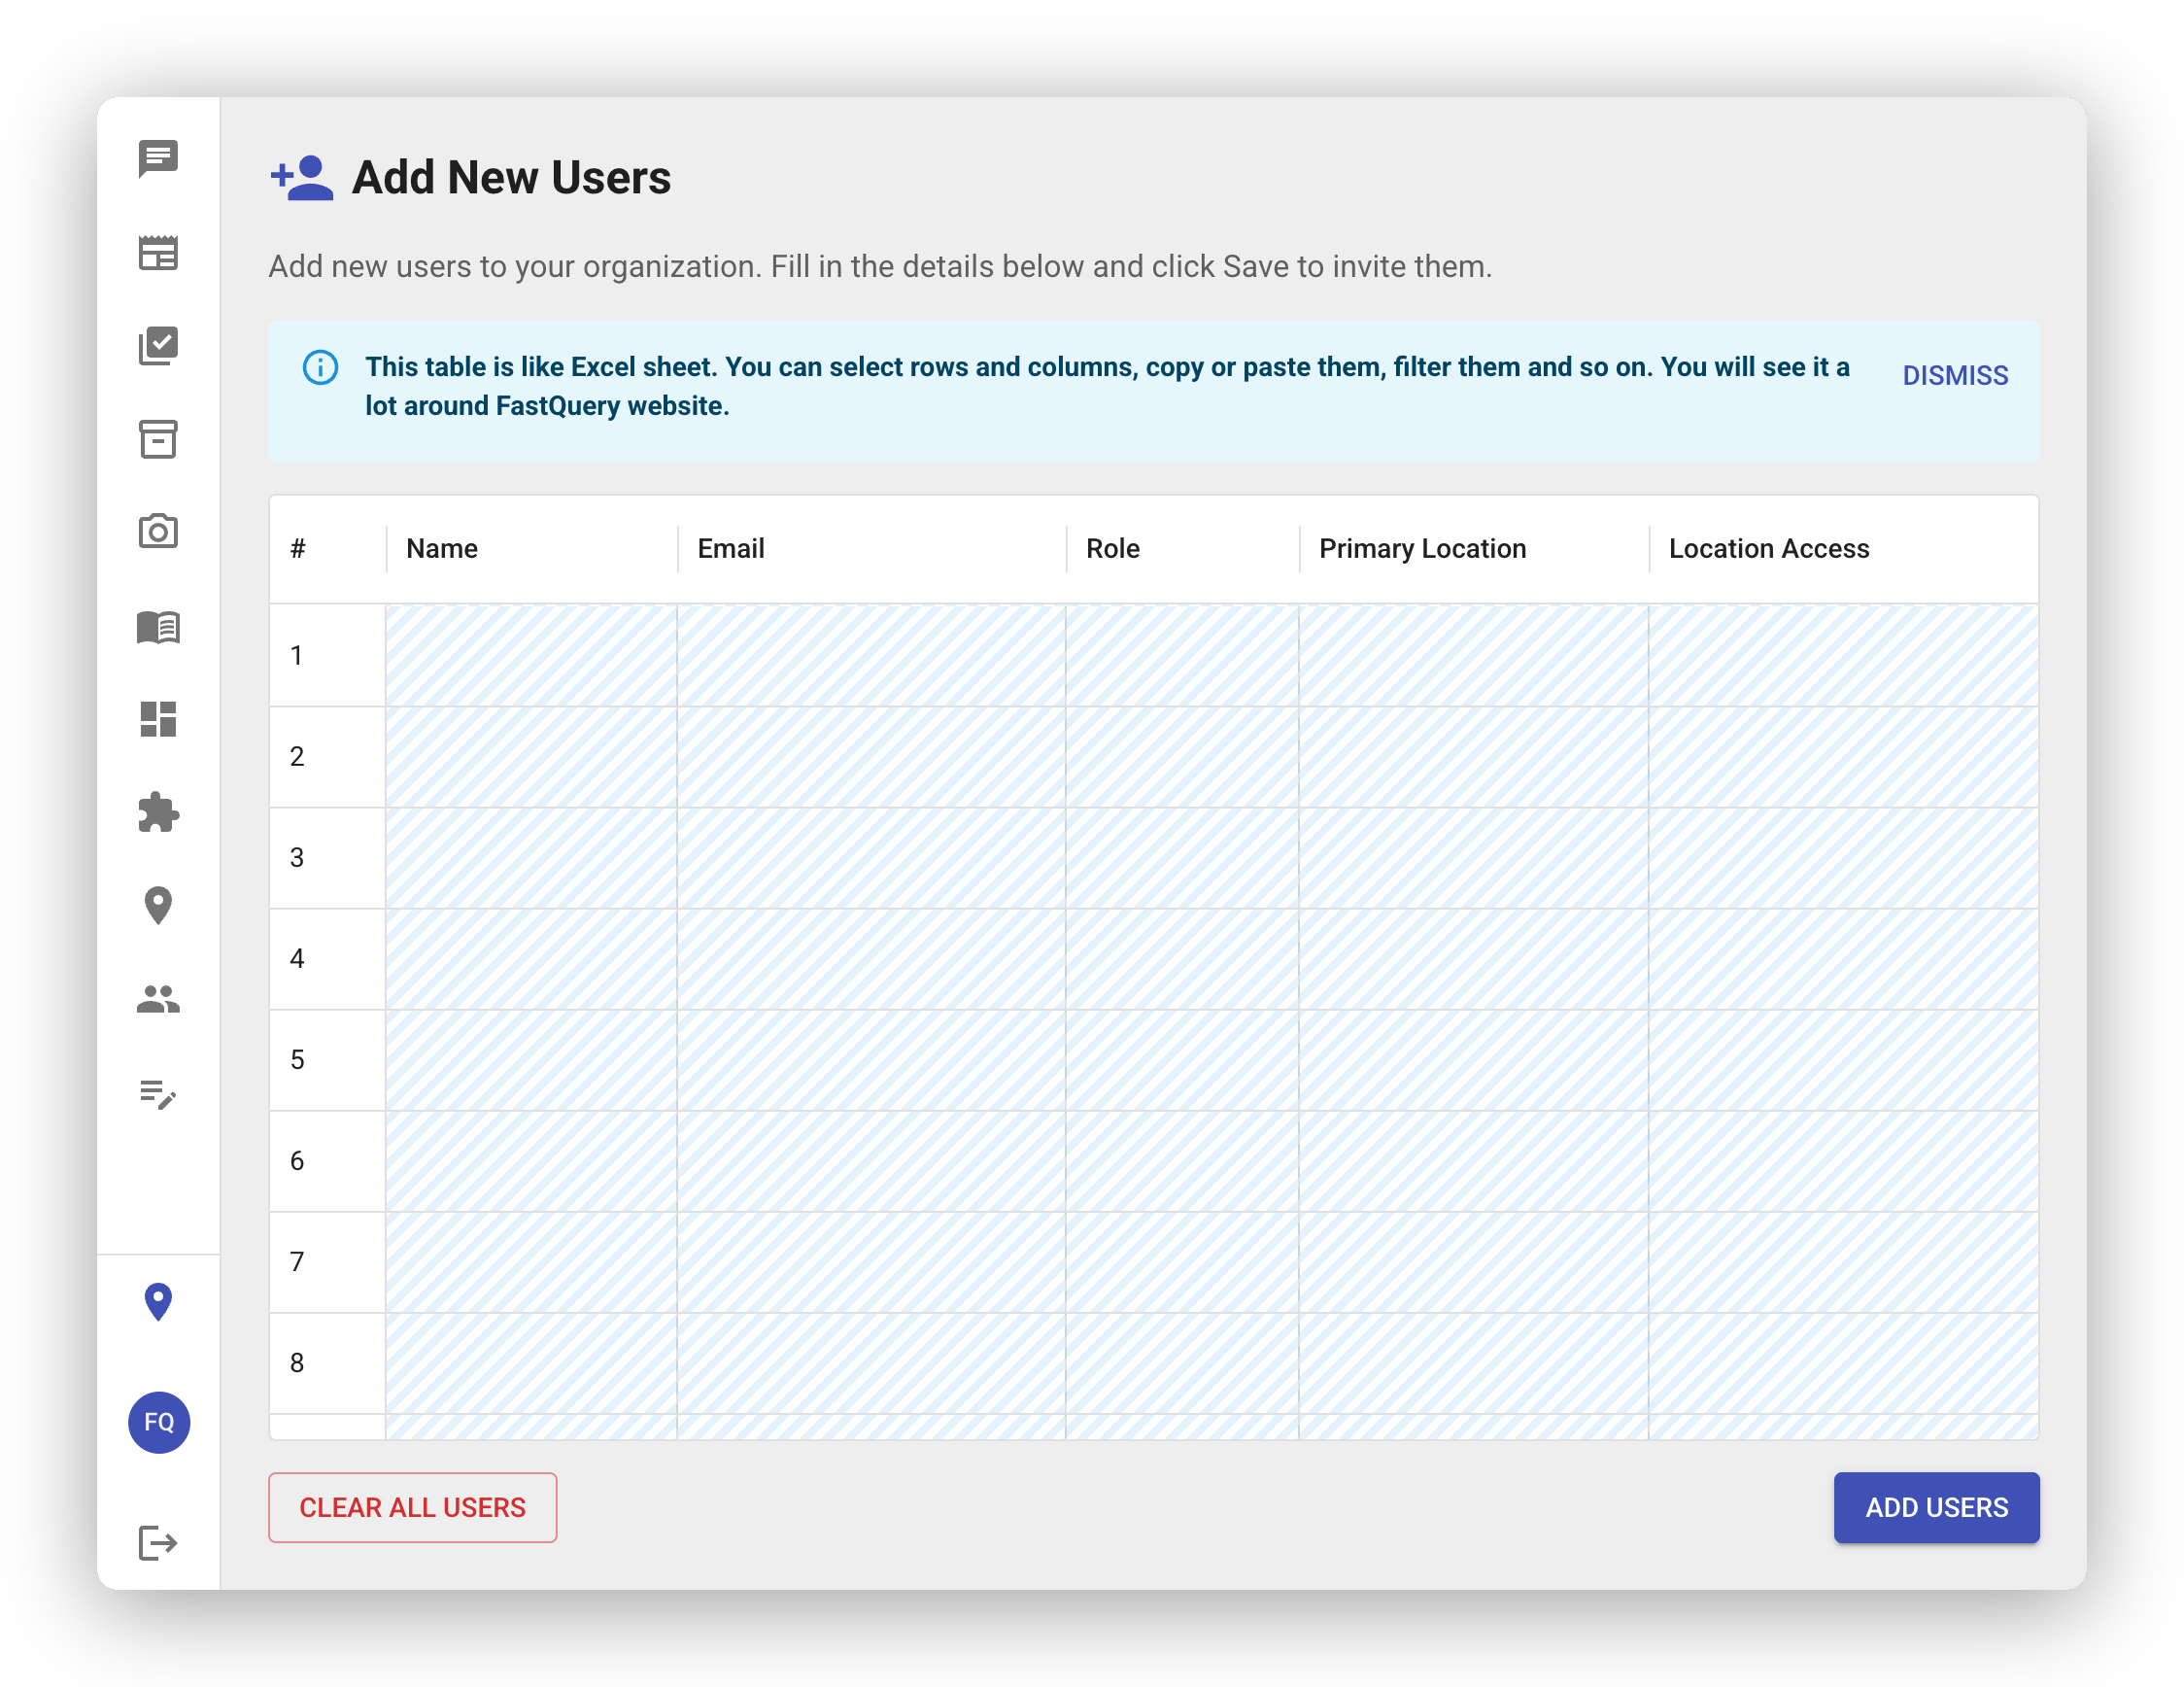
Adding Multiple Users at Once
Section titled “Adding Multiple Users at Once”Need to invite a whole team? FastQuery includes a bulk data grid that lets you add several people at once. Just fill in the names, emails, roles, and facilities in the grid — like working in a spreadsheet — and send all the invitations together.
User Roles
Section titled “User Roles”Each user is assigned a role that controls what they can see and do in FastQuery:
| Role | What They Can Do |
|---|---|
| Admin | Full access to everything — organization settings, facilities, users, integrations, and all data. |
| Manager | Manages labels and the knowledge base across the whole organization, can export inventory, and manages tasks at their assigned facilities. Has access to more features than a regular user but cannot add or remove team members. |
| User | Searches, views inventory, and uses FastQuery’s AI features. Creates and manages tasks at their home (primary) facility; at other assigned facilities they can view, post, and help with counts. |
Assigning Facilities
Section titled “Assigning Facilities”When you invite someone, you can assign them to specific facilities. This controls which inventory and data they see when using FastQuery. For example, a store associate at your downtown facility only needs to see that store’s information.
What the Invited Person Experiences
Section titled “What the Invited Person Experiences”After receiving the invitation email, the new user simply:
- Clicks the link in the email.
- Signs in with Google, Microsoft, Yahoo, Apple, an email code, or (on mobile) their phone number.
- Gets automatically connected to your organization with the role and facilities you assigned.
Before the app opens, they complete a quick personal profile — name, a short interview about their job, and their work schedule. It only takes a minute. See Completing Your Profile for what they’ll see.
- Use work email addresses when inviting team members so everything stays connected.
- Start with the Admin role sparingly — only give full access to people who need to manage the system.
- You can change someone’s role or facility assignments at any time.
- The role you pick is a starting point. It sets sensible defaults, and an admin can fine-tune what each person can do per facility afterward. See Roles and Permissions for the details.