

Adding Facilities
Facilities are how FastQuery organizes your business. Each facility is a place: a store, a warehouse, or a headquarters. Your team works and tracks inventory there.
Why Facilities Matter
Section titled “Why Facilities Matter”Facilities decide what inventory and data your team sees. A person assigned to a facility sees the products, stock levels, and information of that place.
Adding Your Facilities
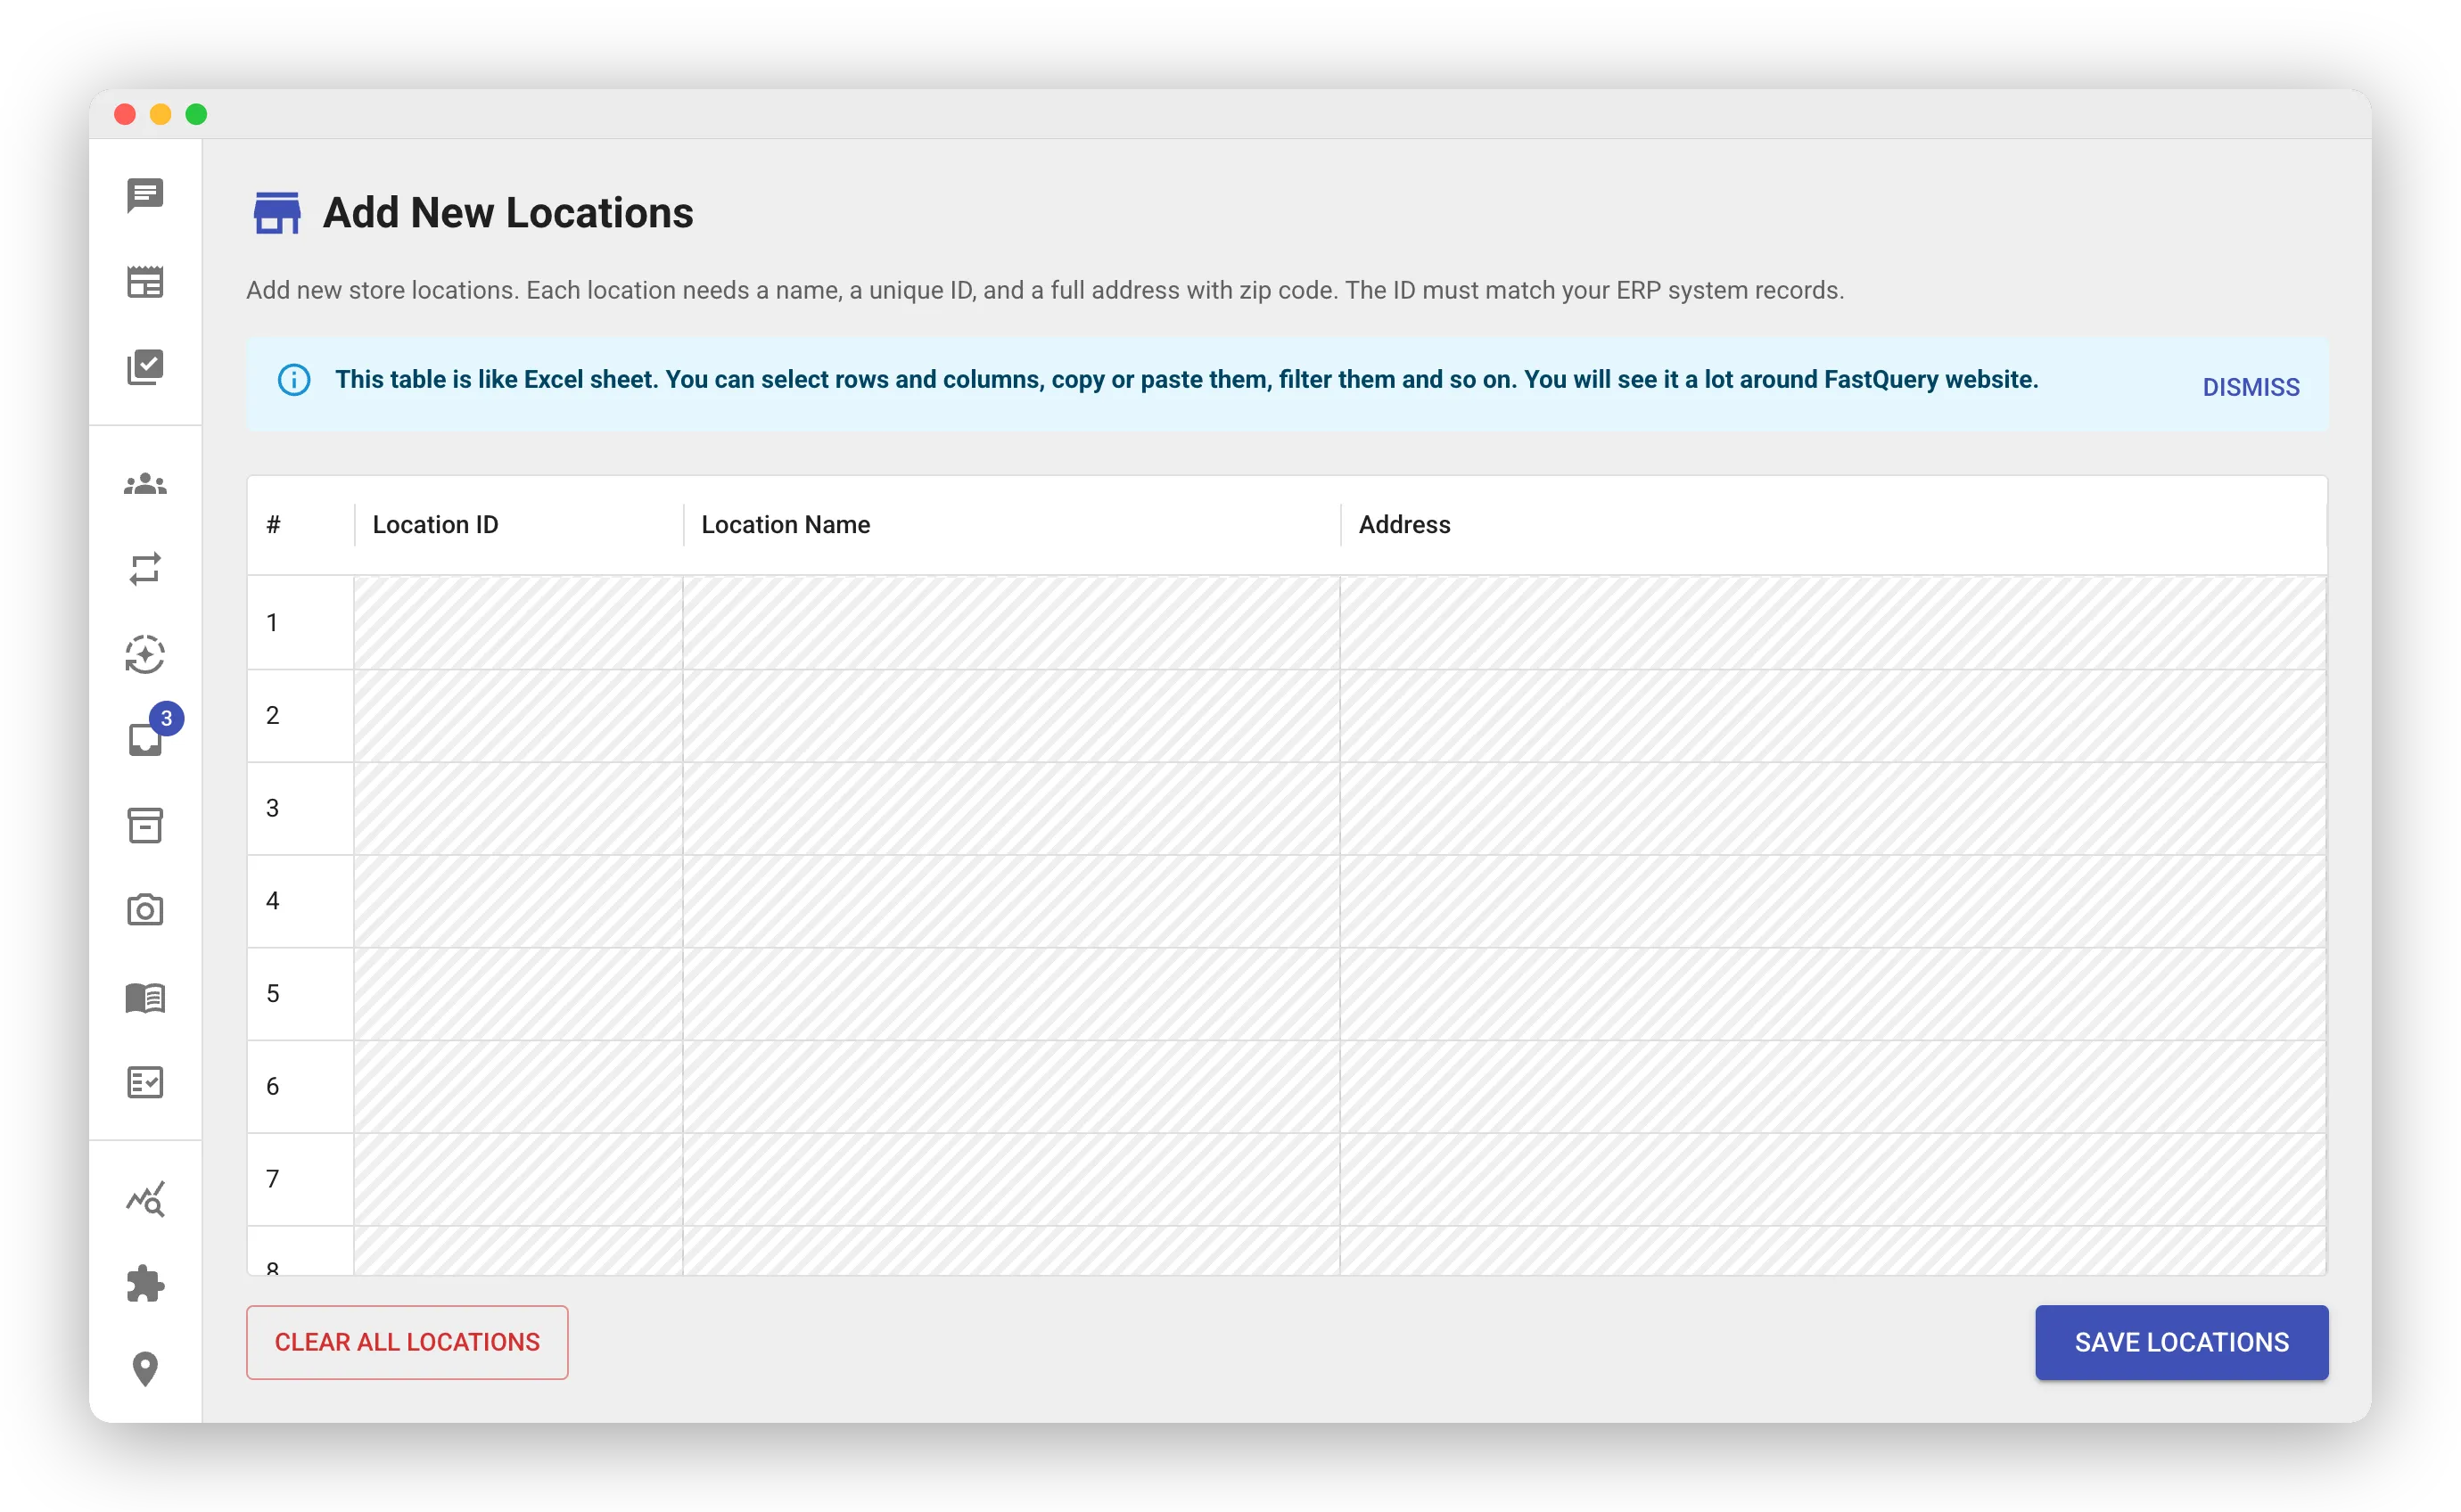
Section titled “Adding Your Facilities”During setup, FastQuery prompts you to add your facilities. Later, you add them from the Locations page with the Add Locations button. Both open the same sheet. For each facility, enter:
- Location ID — a short, unique identifier. Use lowercase letters, numbers, hyphens, and underscores. Examples are
downtownandeast-side. The ID must match your POS or ERP system records. - Location Name — a friendly display name, like “Downtown Store”.
- Address — the full street address with city, state, and zip code.
Then click Save Locations.
Adding Multiple Facilities at Once
Section titled “Adding Multiple Facilities at Once”The sheet works like a spreadsheet. Fill in one row per facility. You can paste many rows at once. This helps when you manage a chain of stores.
Managing Facilities Later
Section titled “Managing Facilities Later”You can add, edit, or remove facilities at any time. Open the Locations page in the web app. See Facilities.
- Use names that are easy to tell apart. City names or street names work well.
- Keep Location IDs simple. Short, lowercase IDs like
downtownornorth-storework best. - Check the addresses. FastQuery uses them to find each store’s nearby stores.
- Start with your main facilities. Add the others when you need them.